Testrunner
WebdriverIO comes with its own test runner to help you start testing as quickly as possible. It is suppose to do all the work for you, allows integrate to 3rd party services, and helps you to run your tests as efficiently as possible.
WebdriverIO's testrunner is bundled separately in the NPM package @wdio/cli.
Install it like this:
- npm
- Yarn
npm install @wdio/cli
yarn add @wdio/cli
To see the command line interface help, type the following command in your terminal:
$ npx wdio --help

wdio <command>

Commands:
  wdio config                           Initialize WebdriverIO and setup configuration in
                                        your current project.
  wdio install <type> <name>            Add a `reporter`, `service`, or `framework` to
                                        your WebdriverIO project
  wdio repl <option> [capabilities]     Run WebDriver session in command line
  wdio run <configPath>                 Run your WDIO configuration file to initialize
                                        your tests.

Options:
  --version  Show version number                                       [boolean]
  --help     Show help                                                 [boolean]
Sweet! Now you need to define a configuration file where all information about your tests, capabilities, and settings are set. Switch over to the Configuration File section to see what that file should look like.
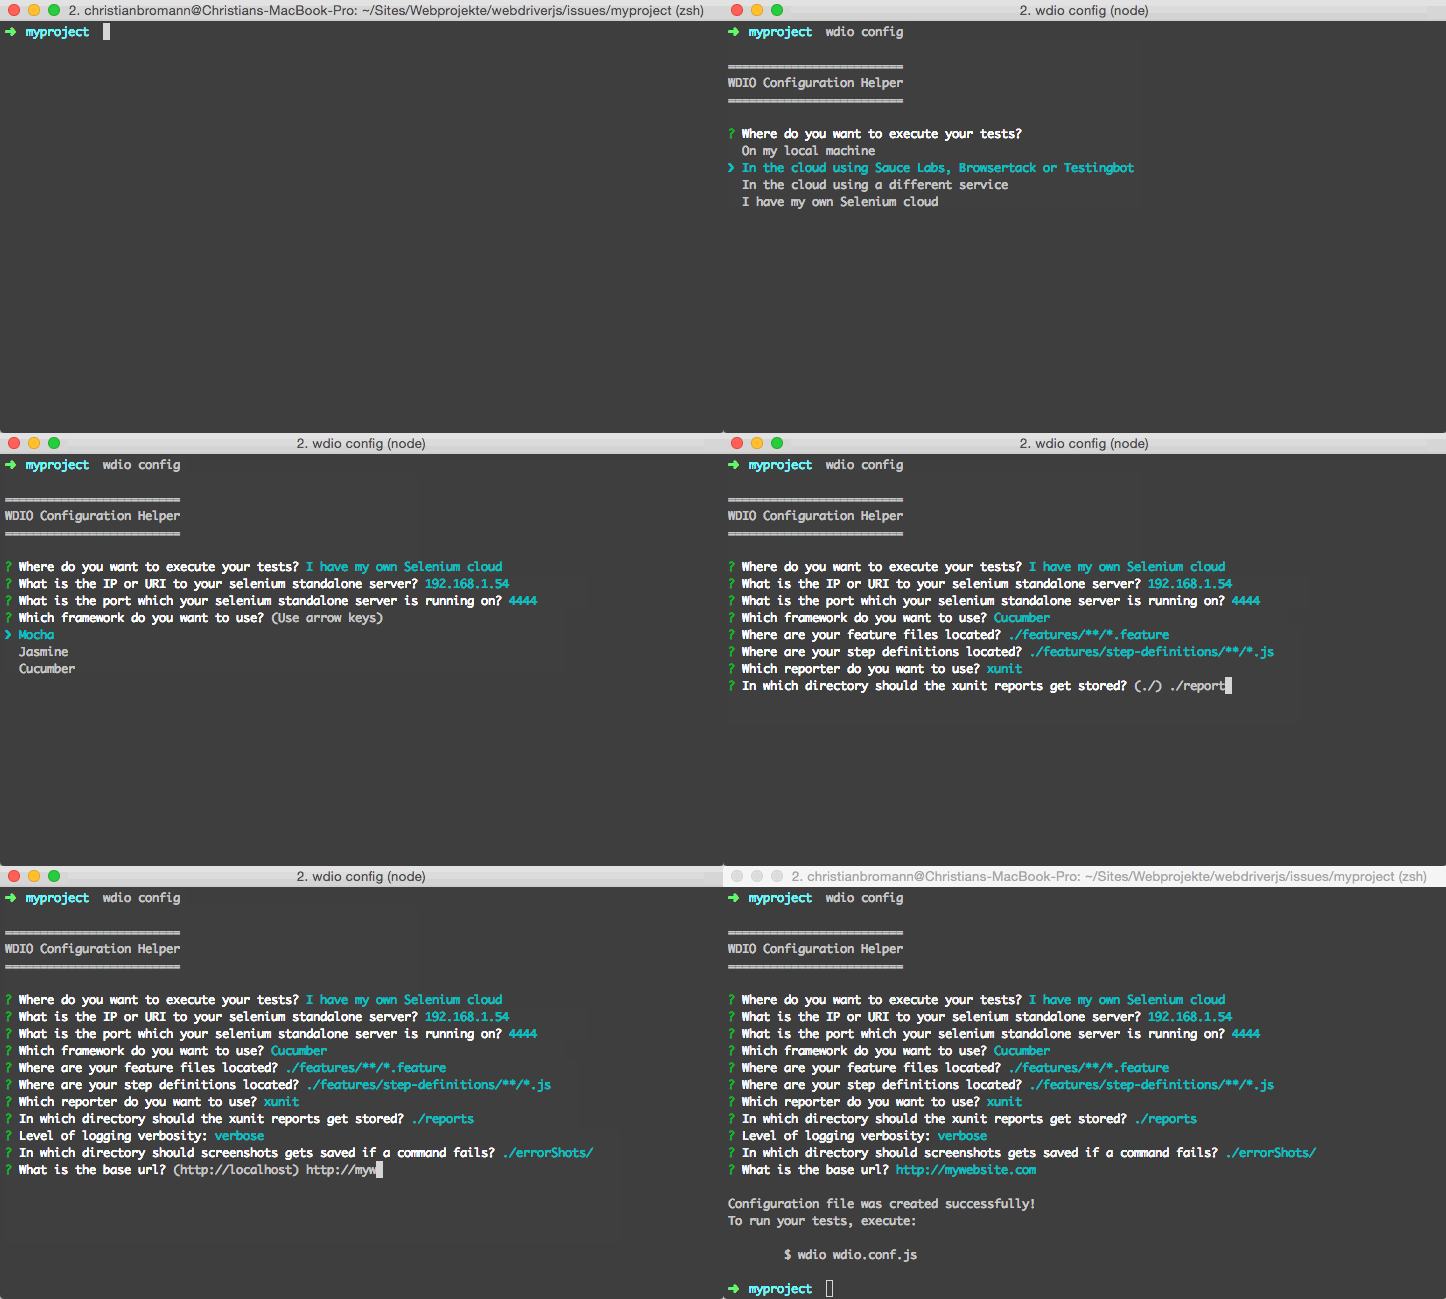
With the wdio configuration helper, it is super easy to generate your config file. Just run:
$ npx wdio config
...and it launches the helper utility.
It will ask you questions and generate a config file for you in less than a minute.

Once you have your configuration file set up, you can start your tests by running:
npx wdio run wdio.conf.js
You can also initialize your test run without the run command:
npx wdio wdio.conf.js
That's it! Now, you can access to the selenium instance via the global variable browser.
Commands
wdio config
The config command runs the WebdriverIO configuration helper. This helper will ask you a few questions about your WebdriverIO project and create a wdio.conf.js file based on your answers.
Example:
wdio config
Options:
--help            prints WebdriverIO help menu                                [boolean]
--npm             Wether to install the packages using NPM instead of yarn    [boolean]
wdio run
This is the default command to run your configuration.
The run command initializes your WebdriverIO configuration file and runs your tests.
Example:
wdio run ./wdio.conf.js --watch
Options:
--help                prints WebdriverIO help menu                   [boolean]
--version             prints WebdriverIO version                     [boolean]
--hostname, -h        automation driver host address                  [string]
--port, -p            automation driver port                          [number]
--user, -u            username if using a cloud service as automation backend
                                                                        [string]
--key, -k             corresponding access key to the user            [string]
--watch               watch specs for changes                        [boolean]
--logLevel, -l        level of logging verbosity
                            [choices: "trace", "debug", "info", "warn", "error", "silent"]
--bail                stop test runner after specific amount of tests have
                        failed                                          [number]
--baseUrl             shorten url command calls by setting a base url [string]
--waitforTimeout, -w  timeout for all waitForXXX commands             [number]
--framework, -f       defines the framework (Mocha, Jasmine or Cucumber) to
                        run the specs                                   [string]
--reporters, -r       reporters to print out the results on stdout     [array]
--suite               overwrites the specs attribute and runs the defined
                        suite                                            [array]
--spec                run only a certain spec file - overrides specs piped
                        from stdin                                       [array]
--exclude             exclude spec file(s) from a run - overrides specs piped
                        from stdin                                       [array]
--multi-run           Run one or more specs x amount of times            [number]
--mochaOpts           Mocha options
--jasmineOpts         Jasmine options
--cucumberOpts        Cucumber options
Note: Autocompiling can be easily controlled with the appropriate library's ENV Vars. See also Test Runner's Auto Compilation functionality documented in TypeScript (ts-node) and Babel (@babel/register) pages.
wdio install
The install command allows you to add reporters and services to your WebdriverIO projects via the CLI.
Example:
wdio install service sauce # installs @wdio/sauce-service
wdio install reporter dot # installs @wdio/dot-reporter
wdio install framework mocha # installs @wdio/mocha-framework
If you want to install the packages using yarn instead, you can pass the --yarn flag to the command:
wdio install service sauce --yarn
You could also pass a custom configuration path if your WDIO config file is not in the same folder you're working on:
wdio install service sauce --config="./path/to/wdio.conf.js"
List of supported services
sauce
testingbot
firefox-profile
selenium-standalone
devtools
browserstack
appium
chromedriver
intercept
zafira-listener
reportportal
docker
wiremock
lambdatest
List of supported reporters
dot
spec
junit
allure
sumologic
concise
reportportal
video
html
json
mochawesome
timeline
List of supported frameworks
mocha
jasmine
cucumber
wdio repl
The repl command allows to start an interactive command line interface to run WebdriverIO commands. It can be used for testing purposes or to just quickly spin up WebdriverIO session.
Run tests in local chrome:
wdio repl chrome
or run tests on Sauce Labs:
wdio repl chrome -u $SAUCE_USERNAME -k $SAUCE_ACCESS_KEY
You can apply the same arguments as you can in the run command.